Introduction
Jekyll by default uses Kramdown to render Markdown files. Other rendering engines like CommonMark and custom renderers are supported via the markdown property in _config.yaml. Pandoc is a very good choice for a custom renderer since it in my experience less quirky than Kramdown and also fairly easy to extend via filters. 1 Using filters, we can add custom modifications of the abstract syntax tree (AST) parsed by Pandoc before it is converted to the output format.
flowchart LR
A(INPUT) o--reader--o B(AST) o--filter--o C(AST) o--writer--o D(OUTPUT)
An additional benefit of writing for a Pandoc-compatible parser is that it will enable us to convert our Markdown document to a myriad of output formats using the Pandoc binary. For example converting a Markdown file to PDF is as simple as this one-liner
pandoc example.md -o example.pdfBootstrapping a Jekyll project with Pandoc as Markdown rendering engine
The code for the quickstart project is available on my Github. Feel free to fork or post an issue if you have any problems! :)
To create a new Jekyll project, we follow the installation instructions for Jekyll and then create a new empty project with jekyll new
jekyll new jekyll-pandoc-markdown-quickstart
cd jekyll-pandoc-markdown-quickstart
We also need the webrick library to run the Jekyll server locally. We add it to the Gemfile, install it and start the local Jekyll server by running
echo 'gem "webrick"' >> Gemfile
bundle install
bundle exec jekyll serve --livereload
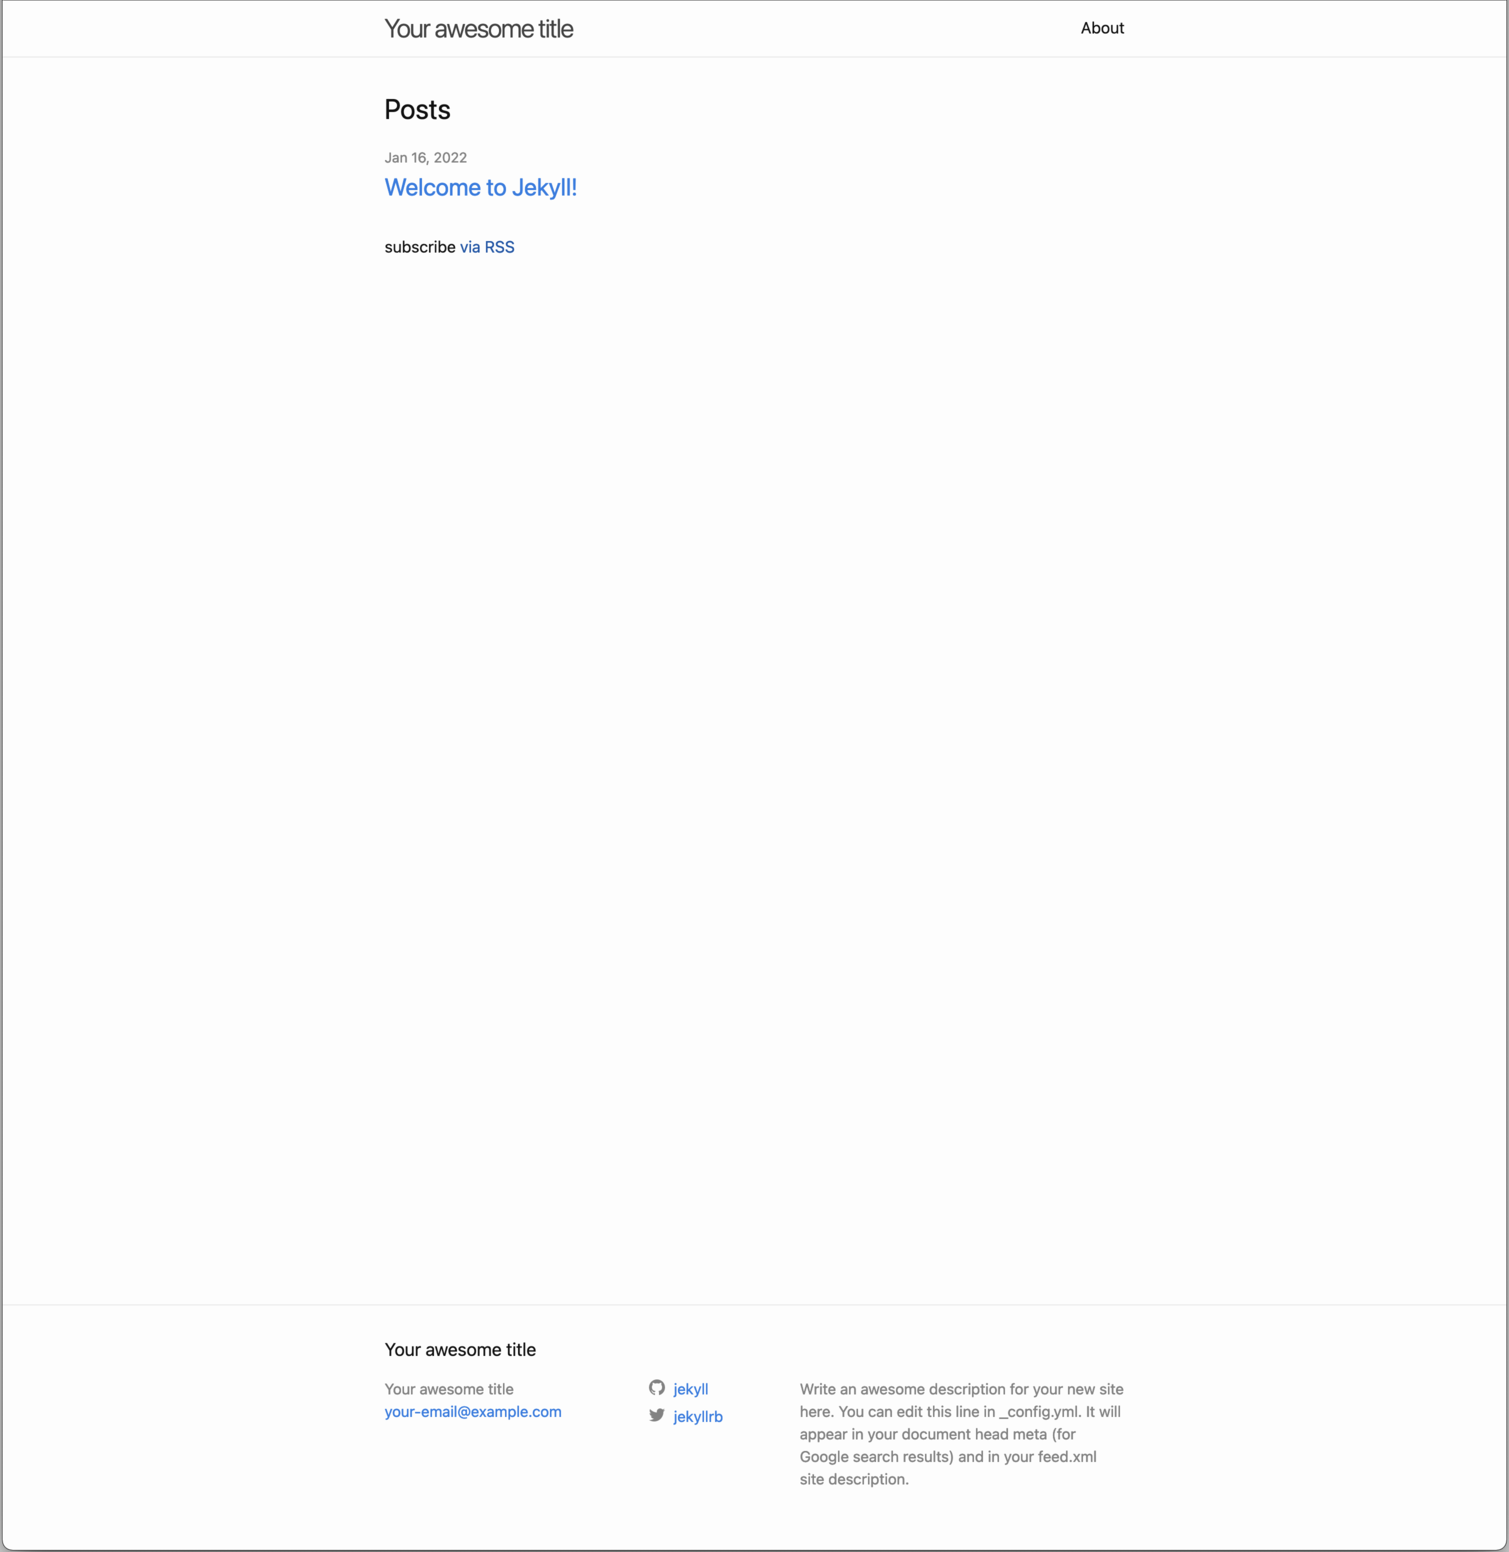
The Jekyll page with the base theme minima should be available at http://localhost:4000 and should look something like shown blow.
To enable Pandoc as Markdown rendering engine for a Jekyll project, we first need to install a custom renderer that acts as glue code to pass input to Pandoc and passes the generated HTML back to Jekyll.
Fortunately, there already is a gem called jekyll-pandoc for this purpose. We add it to Gemfile in the jekyll-plugins group
# Gemfile
# ...
group :jekyll_plugins do
  gem "jekyll-feed", "~> 0.12"
  gem "jekyll-pandoc"
end
# ...
and run bundle install again to install it.
bundle installWe also have to tell Jekyll to use the Pandoc plugin for Markdown by configuring the markdown property as follows:
# _config.yaml
# ...
markdown: Pandoc
# ...
Options to the Pandoc binary can be passed via the pandoc property. For example, we can add Mermaid support for diagrams and Mathjax for rendering mathematics after installing mermaid-filter and mathjax-pandoc-filter by adding an extensions property to the pandoc property.
pandoc:
  extensions:
    - filter: mermaid-filter
    - filter: mathjax-pandoc-filter
    - '-Mmathjax.centerDisplayMath' # center display math
Note that this will output images for the Mermaid diagrams and SVG for our mathematical notation and we don’t have to add addtional scripts to the page head which slow initial loading times.
Now, unfortunately Pandoc produces markup from fenced code blocks that is incompatible with the default stylesheet _syntax-highlighting.scss due to different class names. We can however import one of the stylesheets that are used by Pandoc into our page to fix this. To do so, we first create a directory for stylesheets in the assets directory
mkdir -p assets/stylesheetsThen we download a Pandoc compatible syntax highlighting stylesheet (a selection can be found here) such as breeze dark and put it into the stylesheets folder
curl https://raw.githubusercontent.com/tajmone/pandoc-goodies/master/skylighting/css/built-in-styles/breezedark.css > assets/stylesheets/breezedark.cssThe last thing to do is add the syntax highlighting stylesheet to our page head by overwriting the default page head of our theme minima. I.e. we create a directory _includes and add our custom head definition as head.html (the original head.html can be found here for comparison).
mkdir _includes
cat <<'EOF' > _includes/head.html
<head>
  <meta charset="utf-8">
  <meta http-equiv="X-UA-Compatible" content="IE=edge">
  <meta name="viewport" content="width=device-width, initial-scale=1">
  {%- seo -%}
  <link rel="stylesheet" href="{{ "/assets/main.css" | relative_url }}">
  {%- feed_meta -%}
  {%- if jekyll.environment == 'production' and site.google_analytics -%}
    {%- include google-analytics.html -%}
  {%- endif -%}
  <!-- Add CSS for syntax highlighting -->
  <link rel="stylesheet" href="{{ '/assets/stylesheets/breezedark.css' | relative_url }}">
</head>
EOF
After restarting the server, we should now also have syntax highlighting for fenced code blocks.
We can test this by editing the example blog post in _posts/. For my local tests, i added the following lines to the example blog post (called 2022-01-16-welcome-to-jekyll.markdown in my case).
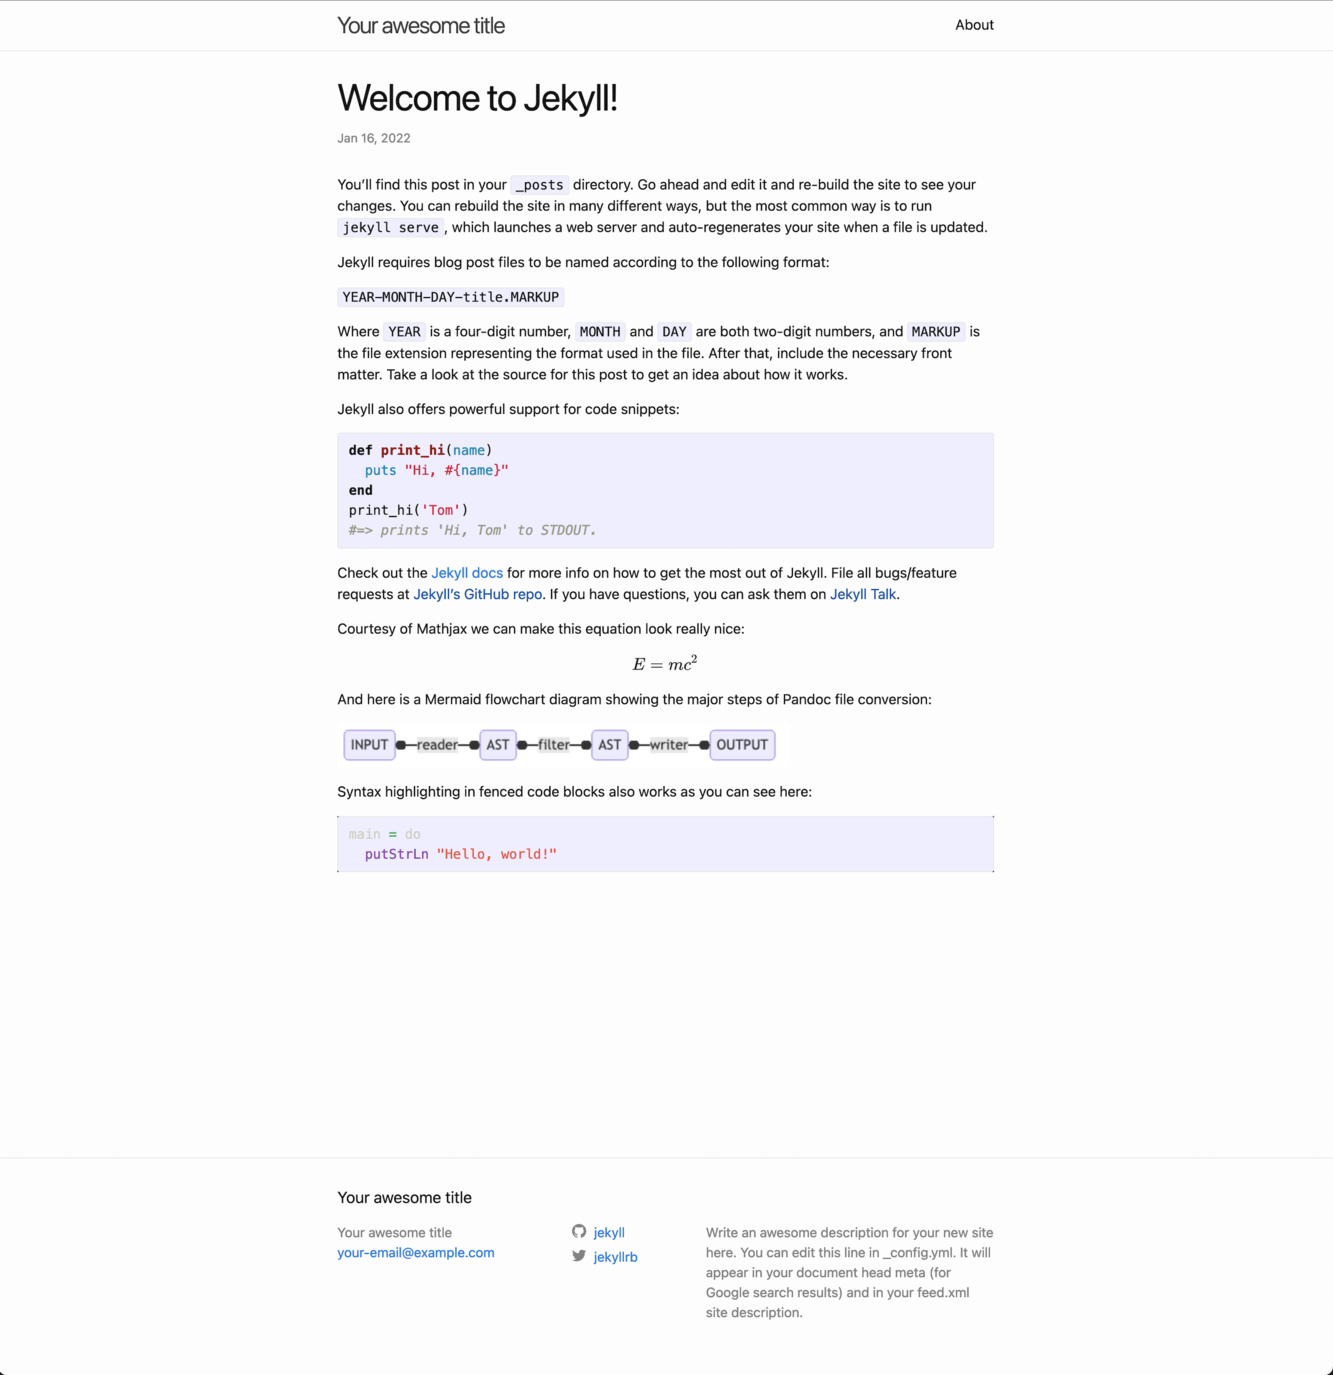
Courtesy of Mathjax we can make this equation look really nice:

$$
E = mc^2
$$

And here is a Mermaid flowchart diagram showing the major steps of Pandoc file conversion:

```mermaid
flowchart LR
A(INPUT) o--reader--o B(AST) o--filter--o C(AST) o--writer--o D(OUTPUT)
```

Syntax highlighting in fenced code blocks also works as you can see here:

```haskell
main = do
  putStrLn "Hello, world!"
```
If you clone this project, you will be able to access the example blog post from the front page of the blog after starting the local development server.
In case everything worked, you should see a page with a rendered Mermaid diagram, Mathjax rendered equation, and a code snippet with syntax highlighting.
Bonus round: testing custom filters
A quick note on trying custom filters in this setup. It seems like filters are cached and you might need to run
rm -rf .jekyll-cacheto clear the Jekyll cache for your project in order to reload the filter.

