In my neverending quest for the perfect development set-up, I’ve recently tried a couple of improvements for my hitherto standard command line tooling (ZSH + iTerm2) over the holidays. While ZSH has—for me—stood the test of time (and I don’t feel the need to try out another shell yet), there is, in my opinion, always room for improvement on the terminal emulator side. So, here’s a quick guide on how to use my new weapon of choice, Alacritty.
Why Alacritty
To be fair, iTerm2 is a great choice as well. It’s, all in all, a very good piece of software. Configurability, performance, and documentation are all excellent. Still, I was never truly happy with it. In particular, I think that it—much like some IDEs (looking at you IntelliJ ![]() )—tries to do too much: window management, session management, password management — you name it, iTerm2 has it. This is not a big deal—great even—if you can be sure that you will spend the rest of your days developing on a Mac. However, if you want to switch to a Linux machine, then you better be prepared to spend a couple of days setting up a new terminal emulator, window manager, and so forth, since iTerm2 is only available on macOS.
)—tries to do too much: window management, session management, password management — you name it, iTerm2 has it. This is not a big deal—great even—if you can be sure that you will spend the rest of your days developing on a Mac. However, if you want to switch to a Linux machine, then you better be prepared to spend a couple of days setting up a new terminal emulator, window manager, and so forth, since iTerm2 is only available on macOS.
If you are, like me, worried about portability (or lack thereof), there are, of course, other solutions available. In terms of terminal emulators, my current weapon of choice is Alacritty, a modern and minimalistic but highly configurable terminal emulator written in Rust that is available for most platforms.

Alacritty has a few things going for it. First of all, although this has become somewhat of a meme at this point, being (re)written in Rust is a good thing in my book. Now, don’t get me wrong, this doesn’t mean that if you write code in Rust, it’s automatically good. (I’m sure that there is a lot of terrible Rust code as well as in any other language.)
But, if you write a program in Rust (and pass the compiler ![]() ), it comes with a lot of properties that are effectively cost-free (i.e. are there because the language guarantees it). For example,
), it comes with a lot of properties that are effectively cost-free (i.e. are there because the language guarantees it). For example,
low memory profile (memory is automatically freed up if its owner has completed),
responsiveness (due to the lack of garbage collection cycles), and
fast start-up (compiles to machine code, there is no virtual machine as in Java, Python, or JavaScript).
Alacritty, besides being written in Rust, also has some other nice features. One of them is that you can write the configuration in YAML format. If this seems like a niche feature to you, think about how difficult it usually is to share your terminal configuration with someone else, or, how hard it is to upload it to a remote repository for backup and versioning. (E.g. if you set up a new computer or virtual machine, it comes in handy that you can just pull your configuration and have everything configured as you’re used to in a heartbeat.) Alacritty also applies your configuration changes immediately after saving the configuration file. I.e. you don’t have to restart the program to see the effect of configuration changes.
Lastly, the main selling point and central motivation for Alacritty—as cited by its creator Joe Wilm—is performance. Alacritty is not only written in Rust, but it also uses OpenGL for rendering, making it perfectly suited to run complex terminal applications—like Tmux or Vim—on large screens without performance problems. I don’t have a benchmark at hand, but from my experience performance is excellent (definitely up there with other fast terminal emulators like iTerm2 or Kitty1). (Font) rendering is very crisp and the overall impression is very modern, minimalist, and elegant.
Setting up Alacritty on macOS
If you’re curious enough to give it a go, Alacritty is pretty easy to install. For macOS, a Brew cask is available (other installation options are listed on the home page):
brew install --cask --no-quarantine alacritty
The
--no-quarantineflag makes sure that running Alacritty is permitted even though it wasn’t downloaded from the App Store (see Brew FAQ).

--no-quarantineshould obviously be used sparingly and only for trusted sources, so your Mac stays protected against malware.
Now, create ~/.config/alacritty/alacritty.yml and paste the following settings:
# Configuration for Alacritty, the GPU-enhanced terminal emulator.

window:
  padding:
    x: 10
    y: 10
font:
  normal:
    family: BlexMono Nerd Font
  bold:
    family: BlexMono Nerd Font
  italic:
    family: BlexMono Nerd Font
  bold_italic:
    family: BlexMono Nerd Font
  size: 16.0
bell:
  duration: 500 # visual bell for alerts
cursor:
  style:
    blinking: On # blinking block style cursor
shell:
  program: /opt/homebrew/bin/zsh # Use the Brew installation of ZSH
  args:
    - --login
alt_send_esc: false # important for OPT + x commands on macOS
key_bindings:
  - { key: N,              mods: Command,                    action: SpawnNewInstance      }
 # macOS german keyboard keybindings (see https://github.com/alacritty/alacritty/wiki/Keyboard-mappings#mac-os-4)
  - { key: Back, mods: Super, chars: "\x15" } # delete word/line
  - { key: Left,     mods: Alt,     chars: "\x1bb"                       } # one word left
  - { key: Right,    mods: Alt,     chars: "\x1bf"                       } # one word right
  - { key: Left,     mods: Command, chars: "\x1bOH",   mode: AppCursor   } # Home
  - { key: Right,    mods: Command, chars: "\x1bOF",   mode: AppCursor   } # End
  - { key: 28,      mods: Alt, chars: "{" }
  - { key: 25,      mods: Alt, chars: "}" }
  - { key: 37,      mods: Alt, chars: "@" }
  - { key: 26,      mods: Alt|Shift, chars: "\\" }
  - { key: 26,      mods: Alt, chars: "|" }
  - { key: 45,      mods: Alt, chars: "~" }
  - { key: 23,      mods: Alt, chars: "[" }
  - { key: 22,      mods: Alt, chars: "]" }
  - { key: 19,      mods: Shift, chars: "§"}
This only sets the bare minimum configuration properties that I like for work. E.g.
-
some light padding so that text isn’t glued to the window borders
window: padding: [x|y]: 10 -
a nice looking nerd glyph enhanced font like Blex Mono Nerd Font 2 3
font: [normal|bold|italic|bold_italic]: BlexMono NerdFont -
visual instead of an audible bell on alerts because it’s less distracting (a value greater than zero activates the visual bell);
bell: duration: 500 -
blinking block style cursor;
cursor: style: blinking: On -
use the Brew installation of ZSH as the default shell
shell:
  program: /opt/homebrew/bin/zsh
All remaining properties address keybindings on macOS (with a german keyboard layout). One of the funny things about Alacritty’s default settings on a german keyboard is that you’re unable to type special characters like |, @, brackets and braces, and so forth. This is remedied by adding dedicated german keyboard bindings (cf. Alacritty Wiki) and setting alt_send_esc to false.
alt_send_esc: false # important for OPT + x commands on macOS
key_bindings:
  # …
  - { key: 28,      mods: Alt, chars: "{" }
  - { key: 25,      mods: Alt, chars: "}" }
  - { key: 37,      mods: Alt, chars: "@" }
  - { key: 26,      mods: Alt|Shift, chars: "\\" }
  - { key: 26,      mods: Alt, chars: "|" }
  - { key: 45,      mods: Alt, chars: "~" }
  - { key: 23,      mods: Alt, chars: "[" }
  - { key: 22,      mods: Alt, chars: "]" }
  - { key: 19,      mods: Shift, chars: "§"}
I’m not quite clear on how alt_send_esc works but the combination of key bindings for special characters and this option let me type the chars mentioned above.
There are also some quality-of-life keybindings for macOS that you may add in case they are needed. For example,
key_bindings:
  # …
  - { key: N,              mods: Command,                    action: SpawnNewInstance      }
  # …
will create a new Alacritty window. This may be useful if you are not using a terminal multiplexer or window manager like Tmux.
Also, you may add key bindings for jump commands like OPTION + ![]() to move one word to the left.
to move one word to the left.
key_bindings:
# …
- { key: Left, mods: Alt, chars: "\x1bb" } # one word left
- { key: Right, mods: Alt, chars: "\x1bf" } # one word right
- { key: Left, mods: Command, chars: "\x1bOH", mode: AppCursor } # Home
- { key: Right, mods: Command, chars: "\x1bOF", mode: AppCursor } # End
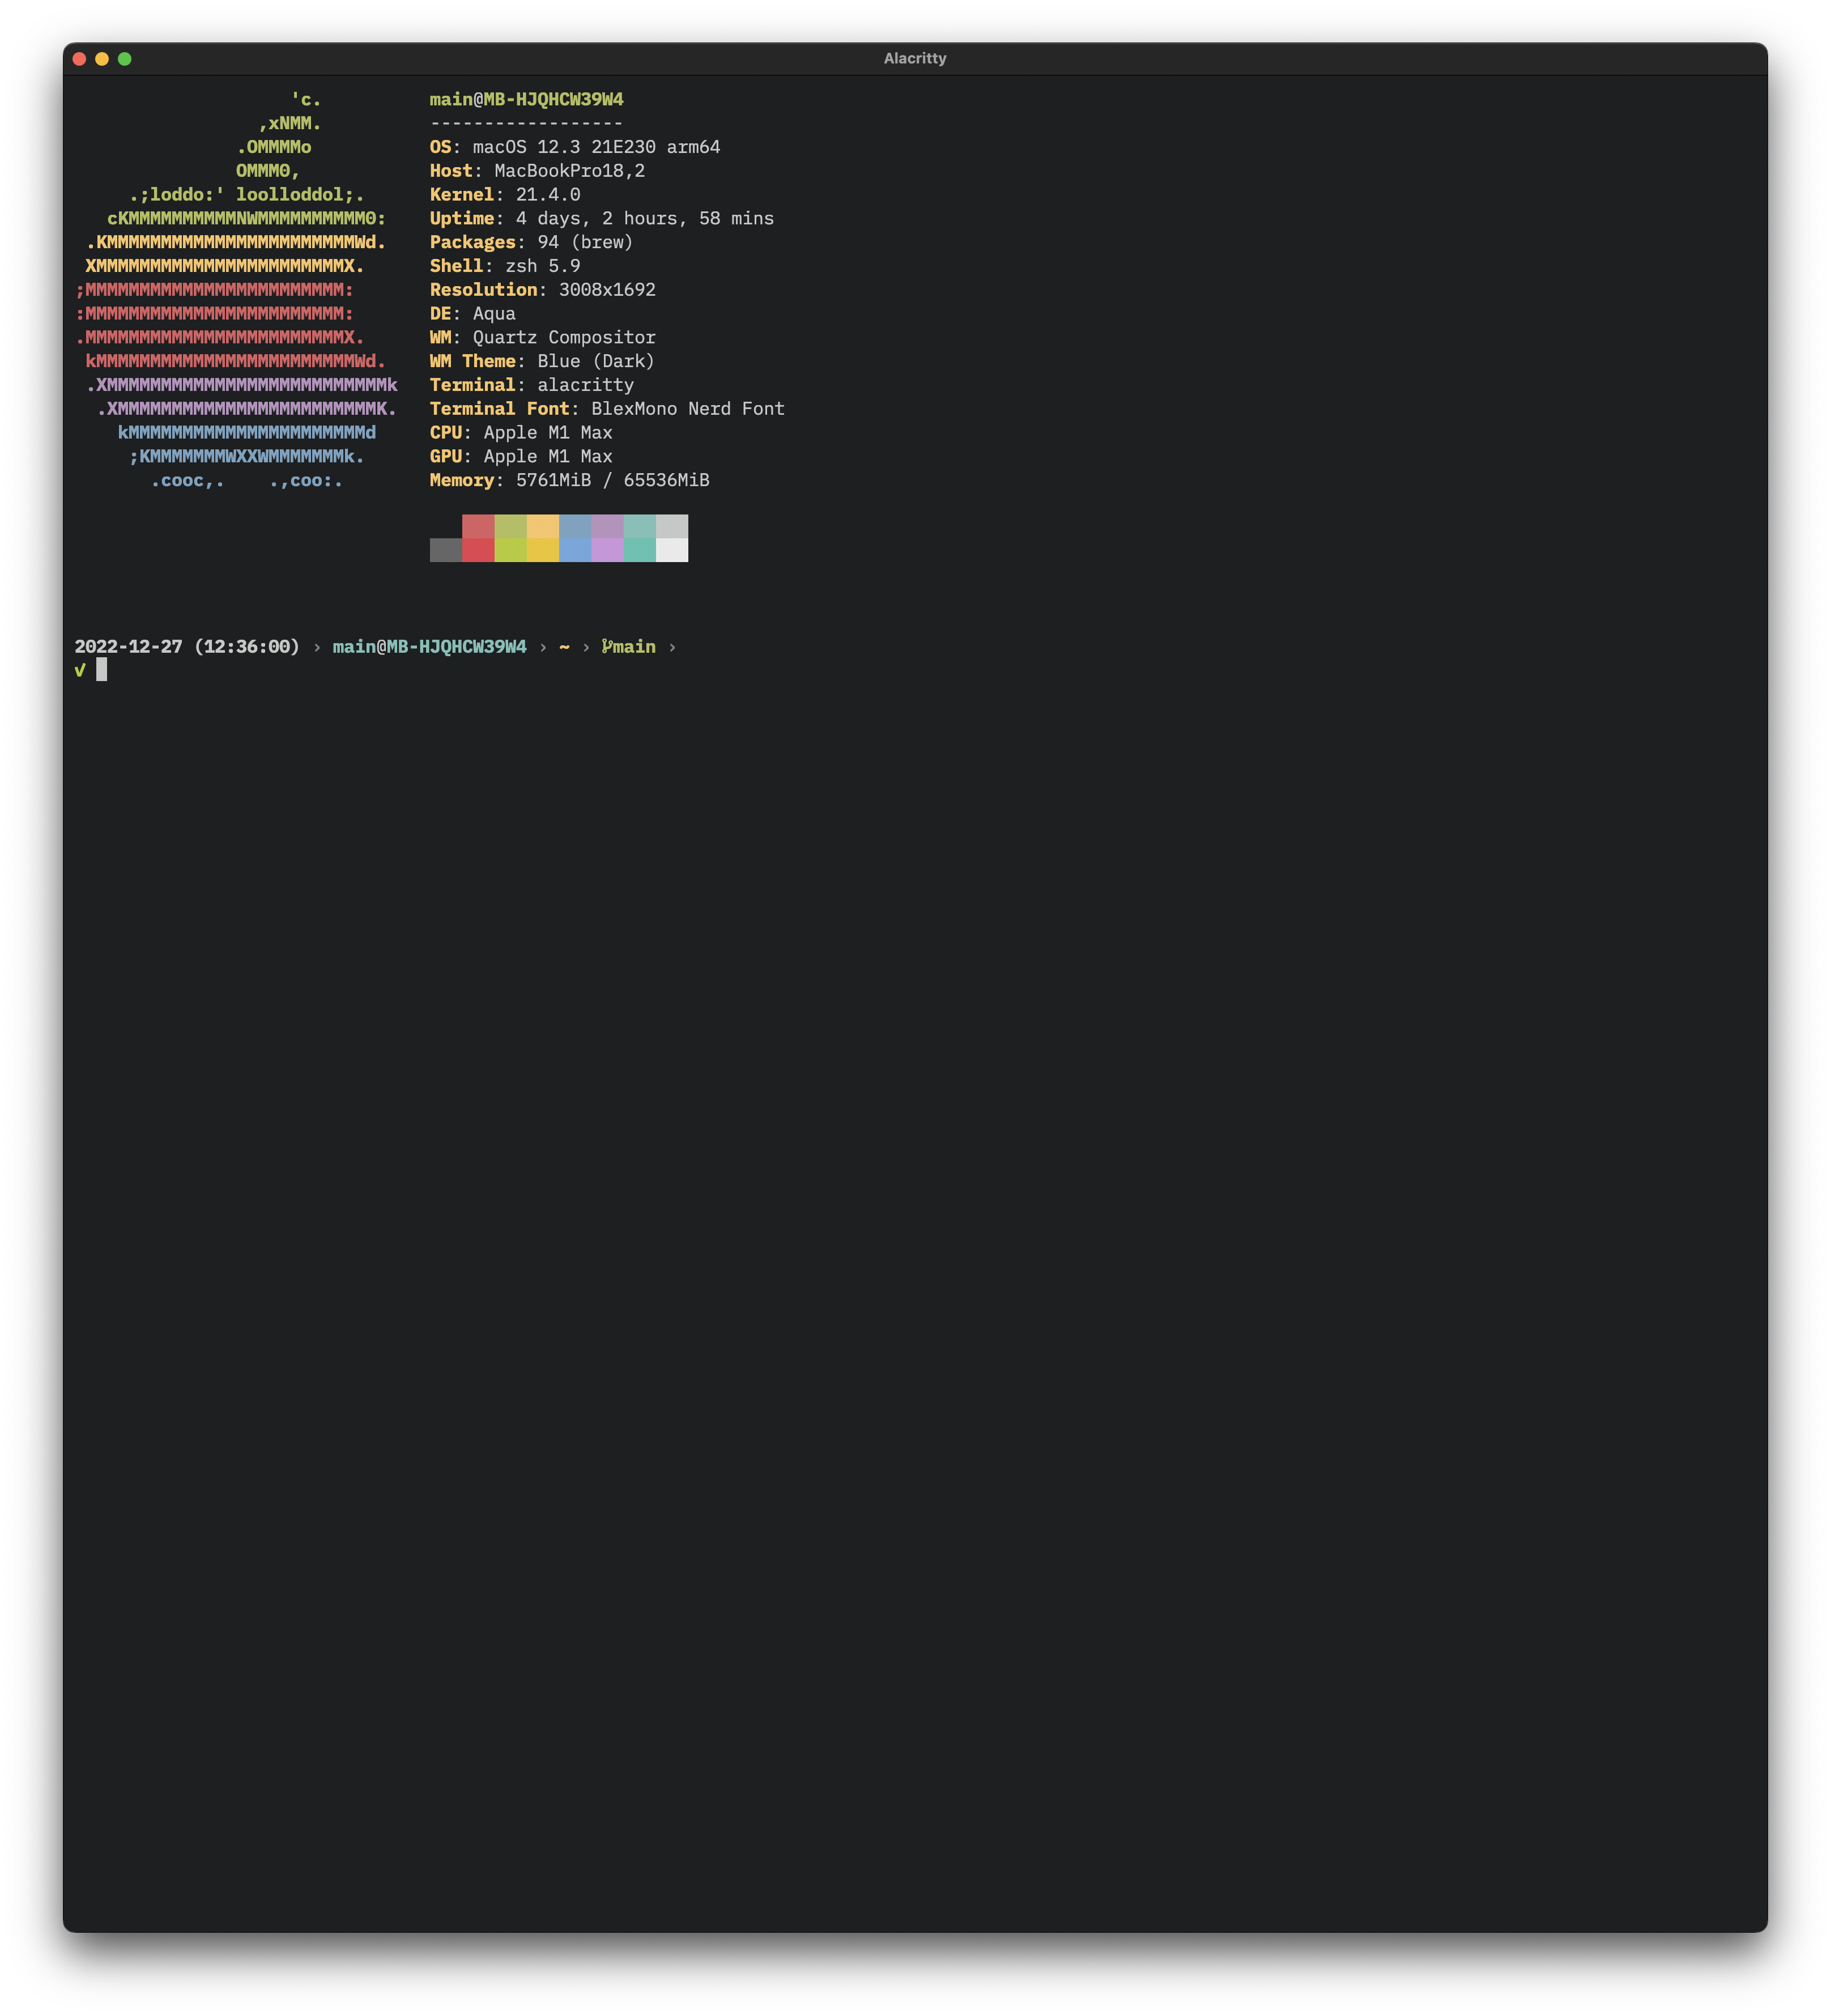
# …Minimally, you can now finish up by adding a starship prompt and running neofetch on startup.
The configuration described above should give you the following result:
Happy Hacking! :)
Kitty takes the cake on naming, though.
 ↩︎
↩︎This is actually IBM Plex Mono under a different name↩︎
We’re not using the ligatures variant because Alacritty doesn’t support them yet.↩︎